BSP Terrain Tutorial
This tutorial is a restauration of the BSP terrain tutorial written by the infamous Bot_40, author of such maps as CTF-StoneForts][ or CTF-Wether. Bot_40's tutorial no longer exists in its original form, because his website has been lost. The Internet Archive can be used to retrived the text, but not the picture. However, back in the days, Hellkeeper made a translation of the tutorial into French, using all the original pictures and files of the original. Combining the text and the pictures makes it possible to restaure the entire thing.
Part 1 - Intro!
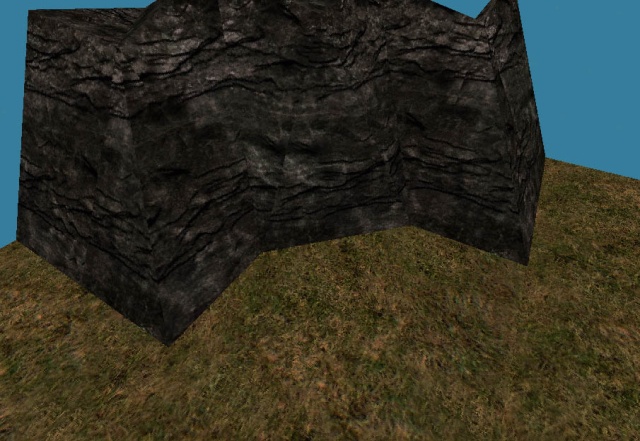
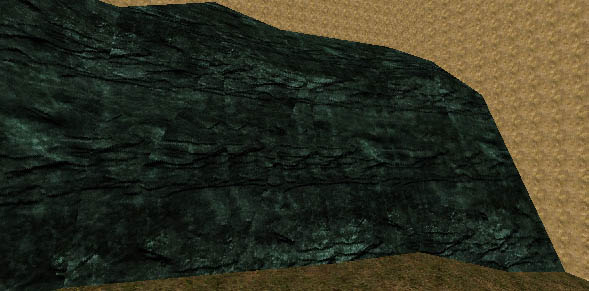
OK, so often (just about every day) I see terrain in a map or a screenshot that looks similar to what is pictured below...
It's horrible, you can't say that looks remotly realistic. When was the last time you were out walking outside (hahaha :p) and saw the bottom of a cliff that was made out of 45 and 90 degree corners O_o Every time I see one of those 90/45 degree corners it makes me want to stab myself in the eyes with a pen. It's just rubbish. Also, the texture alignment on the rocks sucks and it's a high poly way of doing things. This is because most people either don't know how to use the terrain brush builder properly, or they are lazy and want to use terra edit (teh evil program which spawns the horrible 45 and 90 degree corners).
A classic example of this would be CTF-ProjectX and ProjectX2. They are both really solid maps, ProjectX2 is one of the better ctf maps out there, but when you look at it critically, you see these 90 degree corners everywhere, and combined with the horrible terrain textures, it just makes you puke (well, not quite, but it's not nice to look at)
In this tutorial, I want to give people a step by step guide on how I make decent terrain. I won't start by saying this is the only way to do it, one of the other popular techniqes is to use a load of tessalated cubes to make a giant tessalated cube and mould it. That tequnique by far owns this one when it comes to making more dramatic terrain with really tall cliffs on either side. It's the technique used all the way through Operation Na Pali. However, that is almost useless when it comes to making large outdoor areas with low hills and rolling mountains (what most people want to do when they try to use terra edit. So if you want to make a dramatic, narrow canyon with steep sides, then this technique isn't the best (I would give a link to the tutorial on the tessalated cube technique but I have absoloutly no idea where I saw it...
A final note, this tutorial is not meant to be a bible, you don't HAVE to follow it step by step. Most likely, when you start getting more practice with terrain you'll want to do things in a different order. Maybe you'll come up with some new techniques so that you find a quicker or better way to do things. This tutorial only represents the way that I use to make MY terrain. It's just what I found worked best for me over the last 1-2 years. And REALLY REALLY finally, the entire of this tutorial and all it's content are copyright to Michael "Bot_40" Rippon, 2003. It was all made by me and it's all mine. Don't even think about ripping it or I'll send the zlal mob round to break your kneecaps.
So without further rambling, let's get started. First up, I'll be using extensive vertex editing and I will be doing 90% of this entirely in the 3D view. I don't use the side/front views at all when making terrain and the top view only rarely. Since there will probably be people reading this who have no idea how to vertex edit entirely in the 3D view I will briefly go over this technique before I start designing the terrain.
Part 2 - Vertex editing in the 3D View
OK, so you got this far! That means you weren't deeply offended by my ramblings about terra edit :p First of all, I will be making the terrain using the terrain brush builder (if you can't find the button then it's prolly whichever one you've never used before!). When I make my terrain I always vertex edit the red brush and make the terrain completly before subtracting right at the end when I'm finished with it. I find this much easier because vertex editing a brush which has been added/subtracted in the 3D view becomes impossible when you have polys everywhere, they keep getting in the way. Also, I will be using the terrain brush as a subtractive brush, this may go against your logic if you've been using terra edit, but it's slightly quicker, and it means you don't need any other brushes at all. If you use an additive brush then you have to work inside a subtracted cube, it's easier to modify the red brush when it's not in a cube because you have a nice black backround to work against so it shows up better. Also, if you want to expand the terrain more at a later date, you don't have to go modifying the cube, you just build another terrain brush that connects on to the existing one.
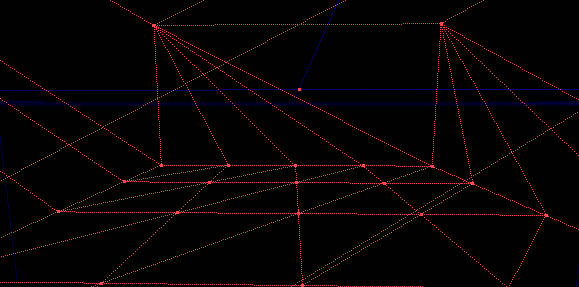
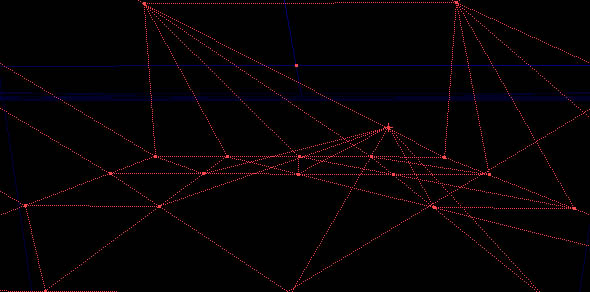
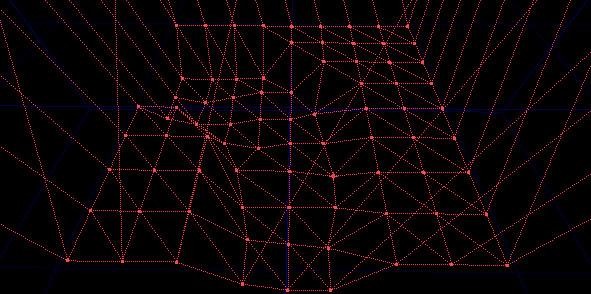
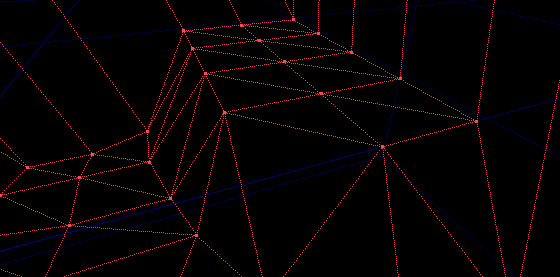
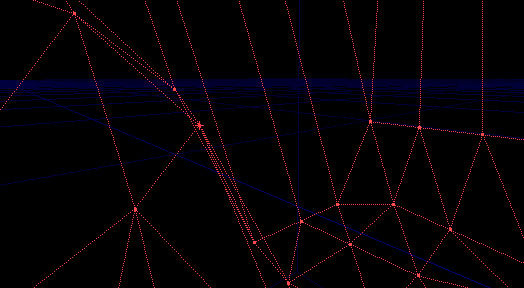
ENOUGH TALK ALREADY!!!11 Let's get started. Make the red brush any shape you want, cube, terrain brush, whatever. This is just to practice vertex editing in the 3D view (which most people won't have tried before I imagine!). Now select a vertex in the 3D view by clicking on it (no need to change mode or anything) and view it exactly square on from the side. See the one I have selected in the pic below right in the middle.
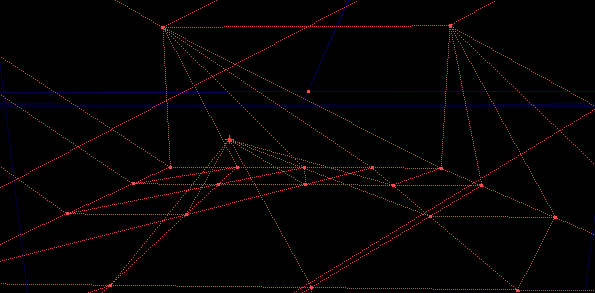
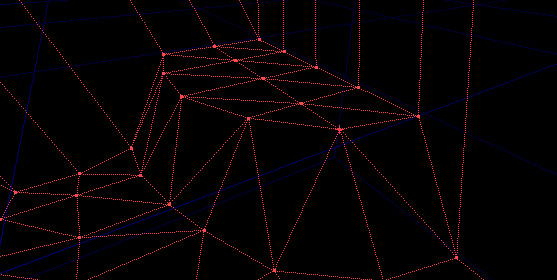
Now hold down ALT and both mouse buttons at the same time. Dragging upwards will move the vertex up, and dragging to the side will move the vertex accross the 3D view. It always moves exactly along the axis so don't worry about it moving off the grid! In the pic I moved the vertex up and left!
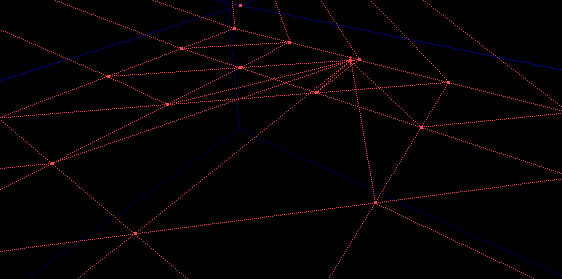
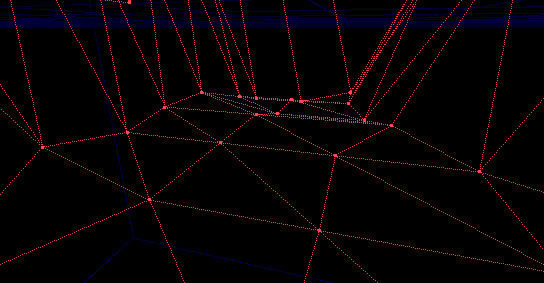
Now rotate the view 90 degrees so you can view the vertex from the other side. If you were looking from this angle when I dragged the vertex before, it would move towards the camera.
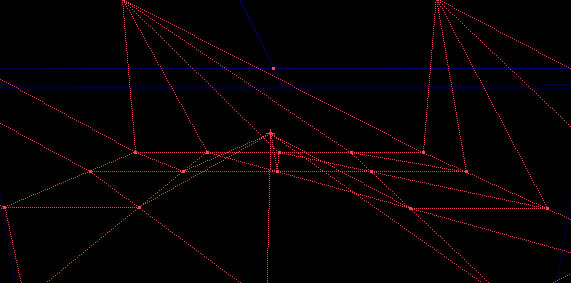
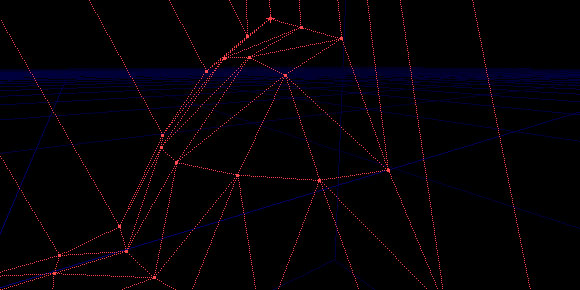
Do the same again, you can drag the vertex up and down and accross the view. Notice how when you move to the side it now moves along a different axis before. This is so goddamn usefull because now you just learnt how to move a vertex in all 3 dimensions using just the 3D view. Now you don't ever need to use the side/front view again in your entire life if you don't want to :p The pic shows me now moving it to the right.
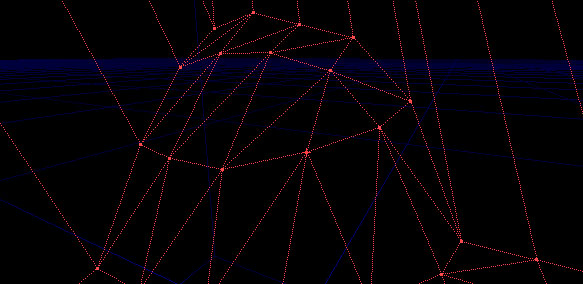
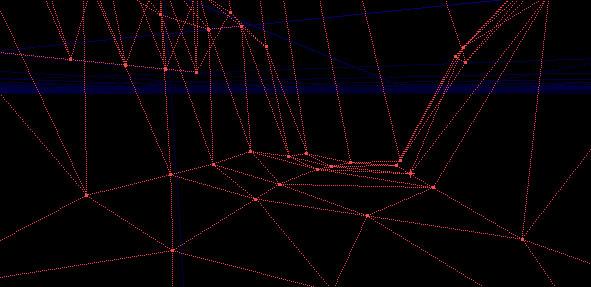
One final picture shows my vertex from a different angle just so you can see how it has moved. You should practice this technique for a while to get used to it. Also, try turning realtime update on in the front and side views and watch the vertex move as you drag it in the 3D view (it's the little joystick at the top of each view, NOT the one you use to test your map!)
I'll quickly mention about this one bug... Sometimes, when you move a vertex and let go of Alt and you want to move it again straight away, when you try, the little red pointer moves but the vertex doesn't move with it. This is just a ghey bug in the editor, all it means is that if you want to move a vertex twice in a row, often you will have to reselect the vertex (you can leave the brush selected, just click on the vertex again). This bug also only seems to occour with large terrain brushes... It's really simple to solve, just some people might get confused if they suddenly can't move vertecies O_o
Part 3 - Creating the shape
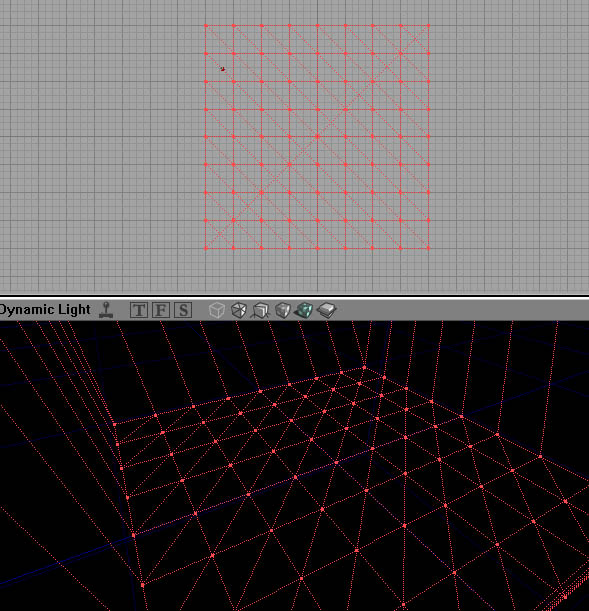
Right, let's get the action going! First of all, right click the terrain builder brush (it's got lots of little mountains on it). Set the Height value to something big, like 10240 (no I didn't put that last 0 there by accident). This number will roughly be how far it is from the ground, up to the surface which is fake backdropped, so if you set it really high, if someone shoots a ricket up into the air, it will fade out before it hits the invisible wall. Set the width and height to however big you want your terrain to be plus a little bit. It's extremely important that you make it big enough, otherwise you may run out of vertecies to work with later on which normally means you have to completly scrap the terrain and start again. A good guide is to make the terrain between 1024 and 2048 bigger than what you expect to use on BOTH length AND width. It really doesn't matter at all if you have left over terrain at the end that you can't use, the only side effect is that your level will have 1 extra poly which means nothing :p Make sure your dimensions are an exact multiple of 256. This will make things much much cleaner for the bsp. Don't ever ever even consider using a number that's not a multiple of 256! The width segments represents how many squares the terrain will be split into. To work it out, simply devide the width of your terrain by 256 and use that number. This will make each segment 256x256 big. Occasionally you may want to use 512, but that is only if you want to make some absoloutly huge scale terrain. I have never had to use 128, just remember, if you did use 128 then your terrain will have 4 times as many polys and you will have 4 times as many vertecies to edit! Do exactly the same with the Length Segments. Press the build button and you should have something like what I have below. (May be larger, this is rather small but it's only for an example). If you move the brush upwards so that the base of it is right in the middle of the map world it becomes easier to edit the terrain if you save and reload your map because the camera appear at the origin of the world when you load so you don't have to pan around in the viewports to find it again. If you already have buildings and stuff in your map then you will have to just align the bottom with wherever you want the bottom of your terrain to be.
Now at first glance, if you used terraedit at all, this may appear upsidedown. It's not, remember, we are going to subtract this brush at the end. The result will be that the 4 sides and the top of the (what is at the moment) a cube, will be the surfaces that are set to fake backdrop. The bottom of the cube is the only bit that we are interested in and is the bit that will make up the actual terrain. Notice that you will probably have a lot more segments in your terrain than I have, like I said earlier, this is only a demomap so I don't want to spend ages making a huge gigantic terrain just to show off a few things. Now, sometimes, when you make a really huge terrain, you see this horrible grid, and you gotta scuplt it into a masterpiece of terrain. It's always intimidating to start with. You just gotta get on with the next step, otherwise you spend ages staring at a blank brush doing nothing (mapper's block) and I've been there quite a few times!
From now on, this is just how I edit my terrain, this order may seem illogical to some people but to me it makes perfect sense. It's also good because it encourages you to plan your terrain, and planning in advance is always a good thing. But don't worry, you still get to make most of the features on the fly, it's not like you're drawing up the entire map before hand, it's just the actual layout of the areas which you can walk on need to be planned for this stage. This next stage is the most important stage of all, and the main one that gets you away from terraedit 90 degree syndrome!
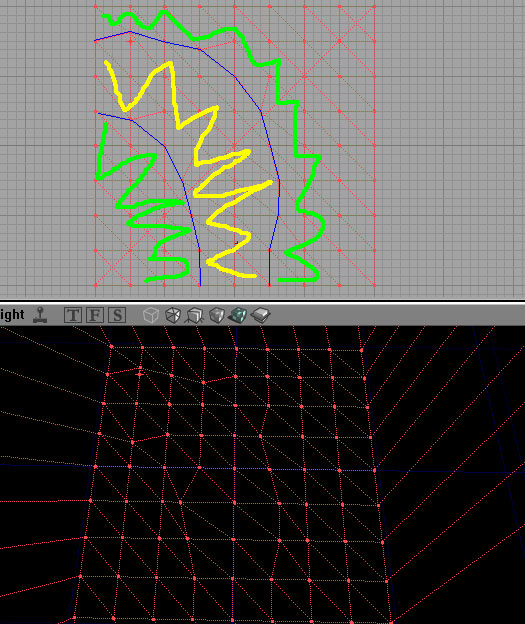
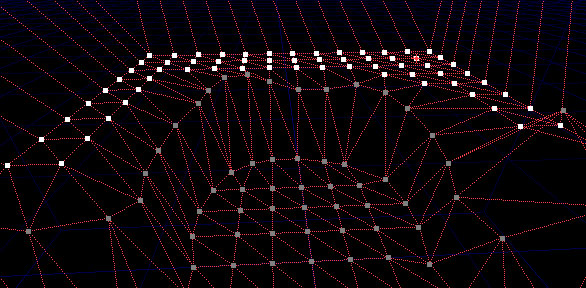
What you need to do is make a rough sketch of the layout of your terrain. It doesn't need to be exact at all, and it could just be a mental image in your head, but you can't do this unless you have some idea of the layout of your terrain. Once you have an idea, you need to use vertex edit in the top view to create the contours of where the ground will meet the cliffs in your terrain. This is one of the few times I use the top view in editing terrain. It's difficult to explain, but if you look at the edges of all the triangles, you need to vertex edit in the top view so that you can follow a single path along the edges so that it traces where you want the ground to meet the hills. SET YOUR GRID SIZE TO 64. This is important becuase it will keep the bsp as clean as possible (it's gonna get pretty ugly later on so try and keep things on as higher grid setting as possible whenever you can).
In the pic, the blue lines are what I thought could be the contours. The yellow scribbles represent the area where you will be able to walk (Ph34r teh paint skillz!). The green scribbles show the areas which will be cliffs and you won't be able to walk on. All the unaccesible areas aren't shown in green, it's only to give a rough idea of accessible areas, and inaccesible areas. By looking at the diagram you should be able to see that I am trying to create a small valley with a rough 90 degree turn in it. Also, try to make the terrain as smooth as possible, and avoid any straight lines. If you put any 90 or 45 degree corners into the "blue line" on your map and you've read this tutorial then I k33l yuo. It is also important that you avoid straight lines as much as possible, don't have the lines of 2 segments line up perfectly, otherwise the base of your cliff/hill will be a perfectly straight line and will look horrible. Notice how in my diagram it's all slightly random, but also, it's relativly smooth. Not too many sharp corners, even though this is grid setting 64. Another tip would be not to stretch the segments too much, if you look at my pic, you can see all the triangles are very roughly the same sort of size. If you have triangles which are really large or really small it makes things difficult later on and will make it look more ugly.
Now this is vitally important. Remember before how I said that you should make the terrain bigger than you expect... Well if you look at the top of that pic you can see that the blue line is only 1 segment away from the edge of the terrain brush. DO NOT DO THIS. I've done this on purpose just to demonstrate a point later on. But it is very important that you leave probably, about 2 or 3 segments gap between the edge of the terrain brush and the "Blue line". Also notice that my blue line actually meets the edge on the left and at the bottom. This is as an example to show how you could connect more than 1 terrain brush. Most of the time you wouldn't want to do this. It's only if you didn't plan too well and run out of space, you can tag more terrain brushes on to give you extra space to work with. And just like you have to keep a large distance from the "blue line" to the edge of the terrain brush, you must make sure that there are a sufficient amount inbetween the blue lines. If you don't then it will become difficult later on, if you imagine that there was only one segment that stretched from one blue line to the other, then it would be impossible to get any sort of height variation inbetween. This layout isn't brilliant, when you do yours, try to keep the imaginary blue lines further apart than I have (sorry, that's just bad planning on my part there :p)
Next step will allow you to instantly see the shape of your terrain. You can do it in 2 possible ways (or both in some cases). In terra edit, you raise vertecies, to make hills, but often, if your terrain has lots of high areas, it's quicker and easier to lower the ones that will form your valleys and lower areas. So you either need to raise all the vertecies that lie in the green area (But NOT the ones on the blue line... or you can lower all the verticies that lie in the yellow area to form the lower areas and if you do it this way then you MUST ALSO move the verticies that lie on the blue line. I'm going to use the latter because most of my terrain will be raised so I may as well leave those bits like they are and move the lower areas down. It really doesn't matter which, it just means you have to do less dragging if you do it the right way. Below is a pic of what I came up with. Note how I haven't bothered making the hills look better yet, I normally just concentrate with the ground first. Already you can see that you've got some nice curves there, much smoother than a terraedit job. Also, try to use the 3D view for all your vertex editing as described earlier, it let's you have a better view of what you are doing and when you get used to it, is much much quicker than the side views.
Something else that I nearly forgot to mention. SAVE OFTEN. The error error mentioned below is the only one that I have ever had that crashes the editor in 2 years of making terrain and it's quite easy to avoid. The real worry is that you can't undo vertex editing so if you really make a hash of something then you can reload the map. Most of the time you can manually undo moving a vertex though. Now it's important to note this because it may save you a lot of aggrivation. When you drag the vertcies at the edge of the terrain brush (you shouldn't have to do it often) then make sure that they don't lie on the edges of the sides of the brush. Look at the screenshot below, if I had let go of Alt where that vertex it then UED would have crashed with a "Not enough vertecies" error.
Also very important, the vertecies that lie around the edge of the terrain brush, it is important that you don't move them "in or out" of the terrain. If you imagine the surface that is going to be fake backdrop, then that surface has to be perfectly flat. It's normally ok to move the vertecies along that surface, but it's better not to, you will avoid hassle that way. A better way to visualise this is if you look at the terrain brush from the top view, then the outside edges should be perfectly straight, they shouldn't zig-zag in and out.
Next step, once I've roughly moved the lower vertecies into place, is to give the floor some rough elevation and bumps. My terrain is going to be flat but you can do hills etc as normal. This, again, only needs to be rough at this stage, it's just to give it some height variation. It would be horrible if it was all flat. Note that I am still using gridsize 64.
Look at the vertecies in this next pic that are at the edge of the brush to the right of the corner of the terrain brush. This is where my blue line nearly reached the side of the terrain brush. Notice how the top of this cliff is right at the edge of the terrain. This not only makes it impossible to get rid of the "Edge of the world" effect, but now, I can't really move these vertecies "in and out" because that would screw the bsp up. This is the reason why you should always leave extra space at the edge of your terrain brush.
For the rest of the tutorial I will simply ignore this area because I can't be bothered to fix it, it would mean starting again. Obviously, if you plan ahead then you will never run up against this problem!
Now, look at the top of this cliff, I am going to turn it into a nice smooth hill but at the moment it looks ridiculous and terraeditish (NEW WORD!)
I'm going to use a similar technique as when I traced out the contours at the bottom of the hill. I'm going to use the top view to round off the edges (ok, so I used the top view, so sue me :p). Actually, I lied at the start, at this stage in the terrain I use the top view quite often, but it's a good habbit to use the 3D view for most stuffbecause when you do the floor it's much easier.
Now I'm simply going to raise the other vertecies to make a rough hill. I do this in the 3D view because then I can see at what height I have to have the vertecies to make the terrain look the smoothest and most natural!
It doesn't look quite right yet. It doesn't look quite smooth enough, if you look at the edge on the right for exmaple, you can see that it is perfectly straight. By moving a few vertecies around horizontally you can fix this sort of thing quite easilly. Just be carefull with the vertecies around the edge of the terrain, if you do move one "outside" the terrain brush accidentally then you can easilly correct it using the top view. This pic is after a bit of tweaking. It isn't massivly different, just looks slightly more curved and natural.
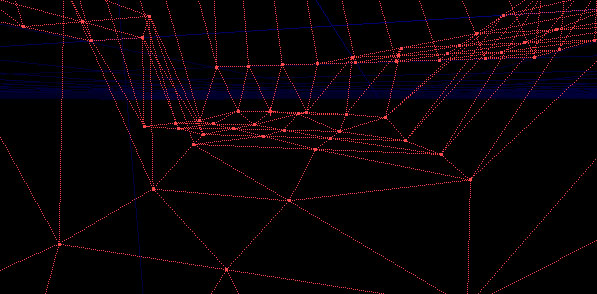
The opposite side of the vally is going to be steeper. Though try to avoid what I've done here...
It's the "End of the world" syndrome. If you imagine viewing the terrain from the bottom of that cliff then it would look like the world just ends just at the top of the cliff, asif there is nothing behind it. This is exactly what you get if you don't leave enough space around the edge of your terrain like I said earlier. If anyone leaves their terrain looking like this after I release this tutorial there's gonna be trouble :P
This is better, I moved the vertecies behind the original ones to make it look like the cliff levels off slightly at the top (like it would in real life). It's not perfect. If I was doing this for real then I'd also do the same to those vertecies that you see lying in a straight line, unmodified. I'm too lazy to do that just for this tutorial but it's also to demonstrate something. If you leave enough room then you will get vertecies like that, that are just not doing anything. Just leave them because people won't be able to see them ingame so there's no problem in leaving them there. It's a good idea to leave them all perfectly level like they are in this pic, it makes it cleaner for the bsp.
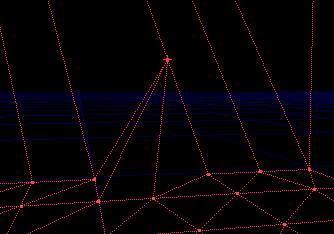
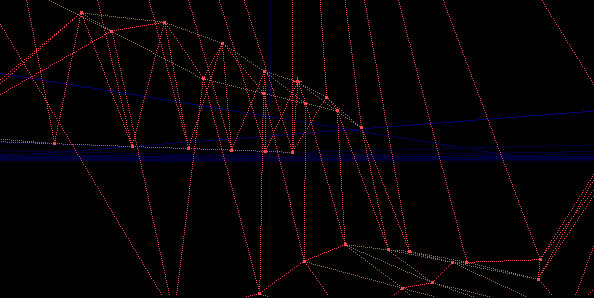
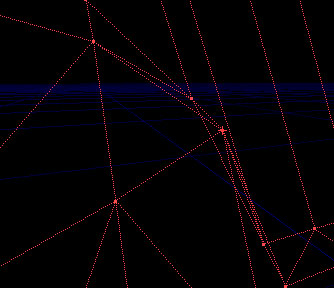
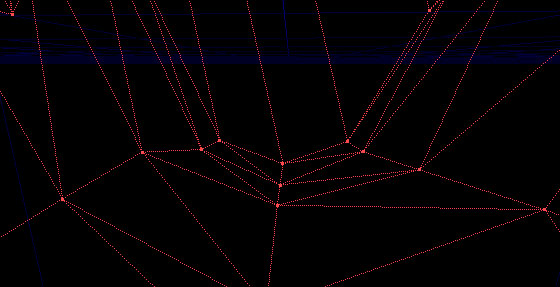
Sometimes you might get "corner vertex" that sticks out like the one in this picture. Sometimes they are difficult to spot in the editor because of the wireframe view, but ingame this would look horrible, and it would show up a lot more than it does in this pic.
If you get any like that then just move them in so that they don't stick out so much...
Let's take a close look at the floor...
YUCK! It's so terraedity. It's not smooth at all. This is where you can finally change down to grid size 32! 64 is fine for doing the hills, but when it comes to the ground it needs to be nice and smooth, as smooth as possible. All I did now is move the vertecies in exactly the same way as before.
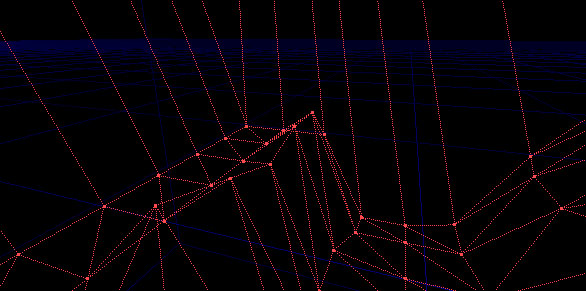
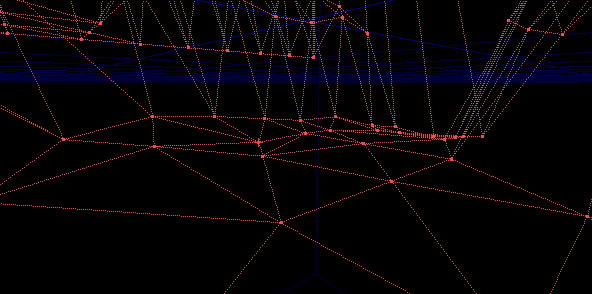
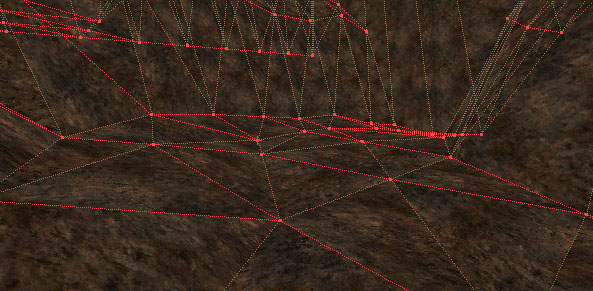
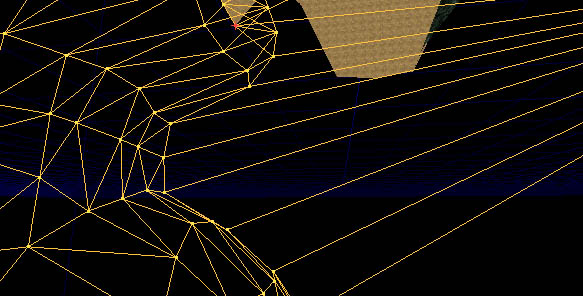
That's a lot better. Looks more natural. Now it's time to do some hardcore tweaking! Select any texture in the browser and subtract the brush, no we're not finished, this is just temporary. Now you need to look for any areas where you can still see 45 and 90 degree corners. Found some? Try looking at this pic for example, if you look at the polys and the wireframe together then you can spot them easier. There are quite a few in this pic.
You need to round these corners off, best use the 3D view for that, but first, press the undo button until your subtractive brush goes away. You should be left with just your red builder brush and you can fix those corners.
There are still corners, but there's a limit to how smooth you can get it in the UT engine and we've finally reached that limit. You can subtract the brush again to check it's all ok. This pic is smoother than before.
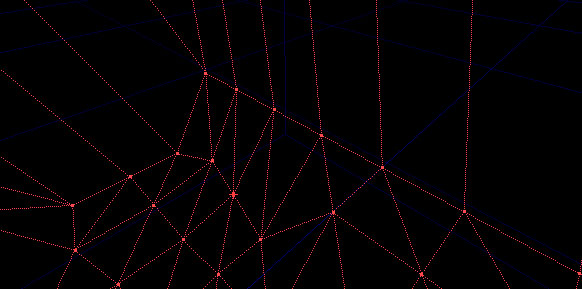
Just as a sort of side note, try to avoid "Valley syndrome" where you get a horrible sharp valleys like the below pic. If you are using a grid size of 32 then you should be able to avoid this.
Wow, this section is actually done. Once you have gone round your terrain and made sure it is all nice and smooth and it looks as realistic as possible, you are ready to go on to the next stage...
Part 4 - Texturing your terrain
Ready for the big step? First, select the rock texture that you are planning to use (the ones that come with UT are all under GenEarth, the ones at the end of the rock catagory are the best but none of them are really that great). Press subtract.
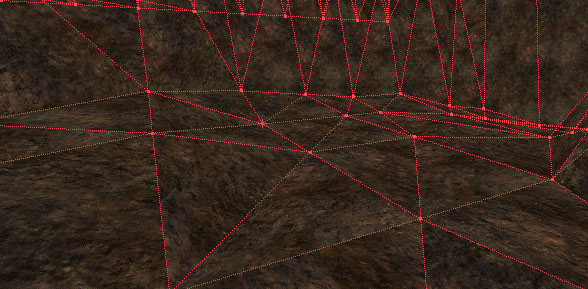
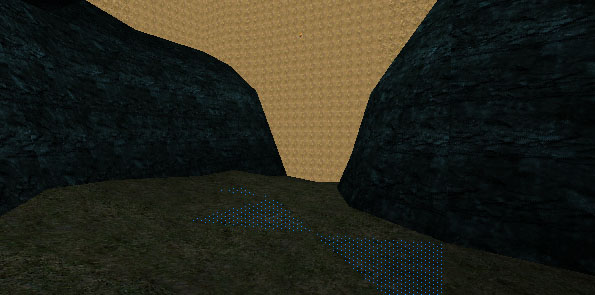
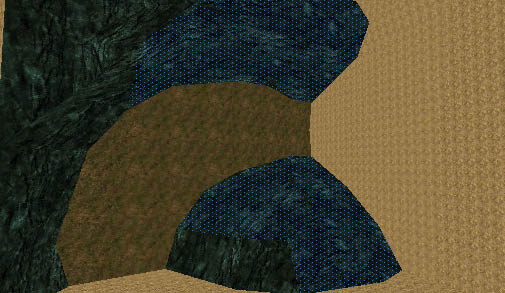
Now, the really quick way to get the textures applied...If you've got a 2000 poly terrain brush and you didn't know this simple trick then you are going to be relieved. Select all the textures an go on their alignment properties. Press the Align to floor, Wall direction and Wall panning in that order. Select a floor poly and right click on it, go on select -> Adjacent Floors/Ceiling. Now just select the texture you want for the ground and it should be applied to all the floor. Without deselecting the floor surfaces, go in alignment properties and select Align to floor. (not to wall) Now select one of the surfaces that will be the fake backdrop. Press Shift+I (nice trick!). Select a temporary sky texture of some sort (I normally use the DayskyB texture from ShaneDay.utx for this but in the pic I used this horrible orangy tex for some reason O_o). Also, select all surfaces and set their Bright corners flag, this will stop the ground having horrible black edges (happens if you have any floor polys with a steep gradient) You should have something like the pic below (It's in dynamic lighting mode, dunno what I was thinking when I took the pic :\)
Notice the surfaces that are selected are perfectly level, but they are all seperate polys. You can merge them into one by right clicking on the brush and going on polygons -> Merge, then do a geometry rebuild. Once you have done that, if you ever want to change the shape of the brush you MUST go on Polygons seperate and do a geometry rebuild, otherwise if you vertex edit one of the merged polys you WILL get a bsp error Notice the picture, that is all just one poly that is selected now...
Now, if I had written this tutorial 6 months ago I would have ended it here, but I discovered a fantastic way of aligning rock textures perfectly. This is a bit difficult to understand, and a lot of people would play the map without noticing this sort of fine detail, but perfectionists like myself, read on if you want your terrain to have better texture alignment than just about every other persons out there. Note, I haven't made a UT terrain map since I discovered this trick so you could actually be the first person to release a map with this technique :p
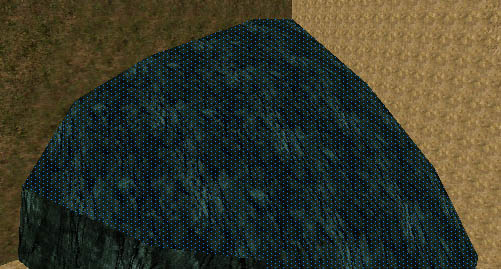
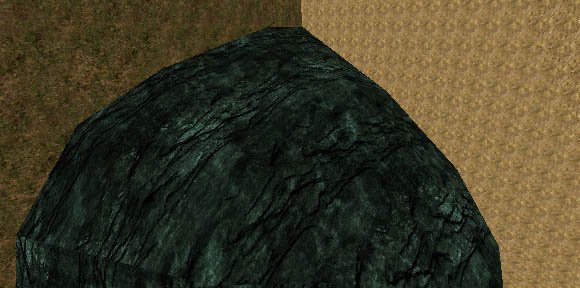
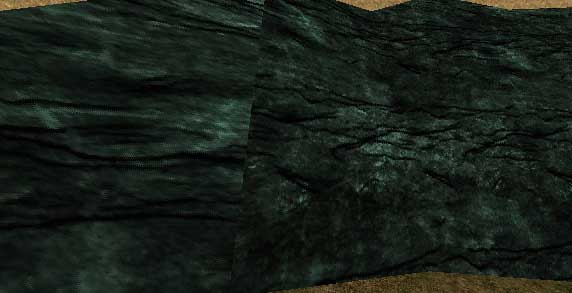
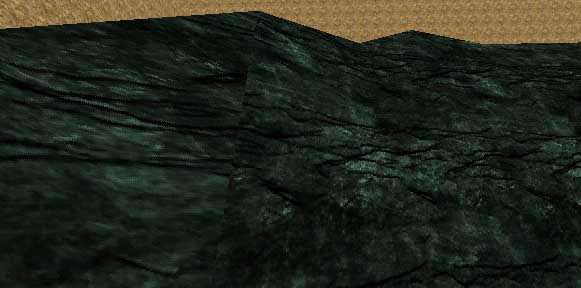
Look carefully the surfaces in the pic below. You'll notice that the textures on the surfaces don't join up properly. This, basicly is because epic suck, and decided not to put proper planar wall alignment in UED2. If you align some slopes to floor you may notice that they connect upwards. This is because the surfaces are aligned asif you projected the texture down onto them from above. Align to wall direction/panning is rubbish, if it was good then it would work in the same way as align to floor does but they decided to wreck everyone's fun. Take a look at the pic, you'll see it's looks horrible where the textures are repeated where they haven't been aligned properly on the surfaces.
Now, the only way to get rid of this is to use align to floor, but that makes the textures all stretched because the surfaces are so steep, what you have to do is rotate the terrain 90 degrees from the side so that these cliffs are facing roughly downwards. Select the brush and rotate it in the side view by 90 degrees. Here's a wireframe pic so you can see clearly
Reuild geometry. Now if you suffer from motion sickness or dizziness then you should prolly undo the rotation and not bother with this because camera movement can really become quite disorientating :p You need to select the surfaces that are approximatly facing upwards and downwards. Here's a pic.
Now align these to floor!
Oh no! That looks horrible, sometimes they are facing in the wrong direction, just rotate the textures by 90 degrees to fix that. Also, they are a bit small scale, but this is important. If you want to scale the textures, make sure you have to relative button checked otherwise they won't line up properly and it defeats the whole point of this technique!
OK, that looks much nicer, now, notice I only aligned roughly half the cliffs, the other half are facing in a different direction so you have to do those seperatly. Now rotate the brush 90 degrees using the TOP view and rebuild geometry. Select the surfaces that you didn't select the first time.
Use align to floor on them, rotate them by 90 degrees (you may not have to, it depends which way you rotated them the first time) and scale them up by 2 making sure the relative button is checked. Now, when you are done with that, you can rotate your brush back to it's original position. If you rotated your brush clockwise in the side view, then clockwise in the top view, then you need to rotate them anti-clockwise in the top view followed by anti-clockwise in the side view to get it back to how it was. Rebuild, then, you will probably notice this...
Disaster! It's almost as bad as it was before! No, there is no proper way to fix it, all you have to do is select the surfaces you just aligned (the second lot of cliff textures) and use the panning tools till the seam doesn't notice too much. It's not perfect, but now you only have a seam where a valley or a hill turns 90 degrees, before you had a horrible seam on every single surface one the hill, so you'll have to live with this one seam... Just ignore that and admire how the rock texture wraps perfectly round the rest of the map :p The pic is after I messed with the panning settings to make it a little less obvious.
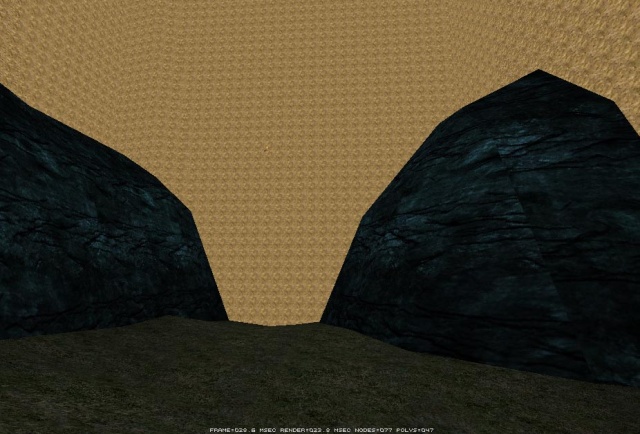
Guess what? That's the end of the tutorial! Now for the big surprise. After using terra edit...guess how many polys your terrain is. You can usually devide your guess by 4 to get the actual value! This is becuase with terra edit, you often have to use a segment size of 128 to build a terrain brush, with this tequnique, you can make a better looking terrain whilst useing a segment size of 256 and useing a quarter of the polys! Here's a final pic of my really small area with "stat fps" turned on.
There! 47 polys. But that's not the actual polycount when you've got a skybox because then the fake backdrop surfaces won't show up, so you can subtract 3 from that and get the REAL polycount of the terrain itself...44 polys. That means you can make an area that's almost 6 times the size of that screenshot and still be under 250 polys!
Wow, that shows just about every single thing I know about terrain! But I've rushed this tutorial off in like, 3 hours so over the comming months I will prolly think up some more usefull things to add. There are a few other things I might add in the future such as design concepts (how to make an original terrain layout), small additions that bring your terrain to life (trees, rocks, ambient sounds etc.) and also, I gotta post a link to DavidM's tutorial on terrain lighting. Stay tuned for...
Part 5 - Final notes and advice
Instead of just adding stuff into the existing tutorial (which would mess the flow of it up worse than it already is), I'll add links to updated material here (if I ever bother to write anything else on terrain!).
Lighting Tutorial - This is just the terrain section of the lighting tutorial, you should also check out the rest of it becuase it ownz, but this bit is the most relavant bit that I wanted to link to.
[Note: the end of the paragraph consisted in links for the offline version of the tutorial, but the files couldn't be retrieved. There was also a link to the beach tutorial which is integrated in the next part of this page, and so the links have been deleted].
Beach tutorial
I decided to make another part, just as an example more than anything but also I show how you can make overhanging cliffs. First of all, sorry about the large images, these wireframe screenshots don't compress well at all as jpgs, and if I compress them any more they look absoloutly horrible (they are already on high compression :\)
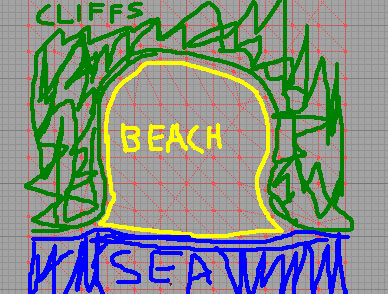
I'm going to make a little sandy cove. First of all, I've just planned it out using the top view.
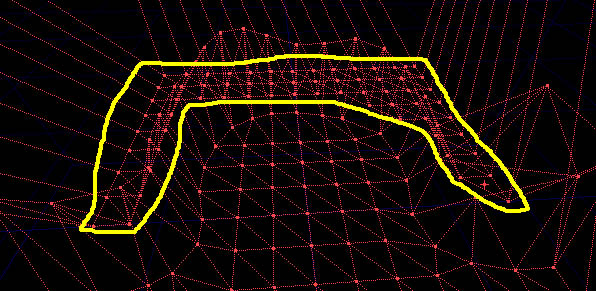
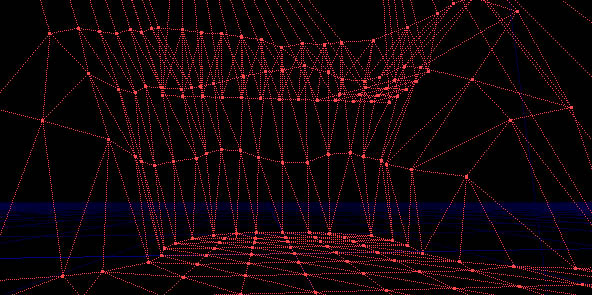
I started raising the vertecies that will form the cliff, but after doing a few I got tired of dragging them all so far. You can see the ones circled in yellow. Wouldn't it be nice to move them all up at once so I don't have to drag them as far all the time?
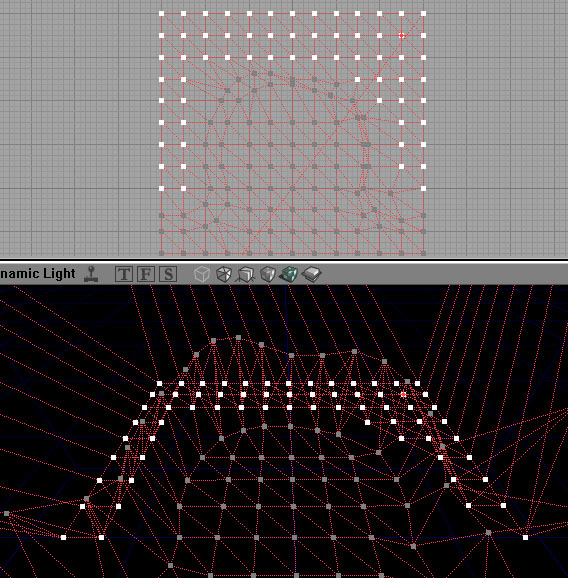
Go into vertex edit mode. Hold down Ctrl+Alt in the top view and drag over those vertecies. You won't be able to get all the ones you want in just one go, so once you've selected some, hold down Ctrl+Alt+Shift and drag out more boxes to select more vertecies. Be carefull not to click on the actual brush otherwise you will lose your selection (ghey bug).
In the 3D View, hold down Ctrl and drag up with both mouse buttons to move the selected vertecies roughly up to the right height. That just reduces the amount of dragging you have to do all the time, fight that RSI!
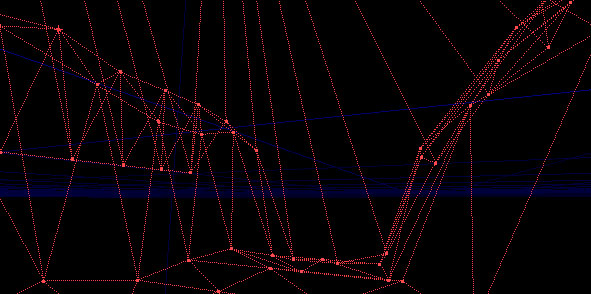
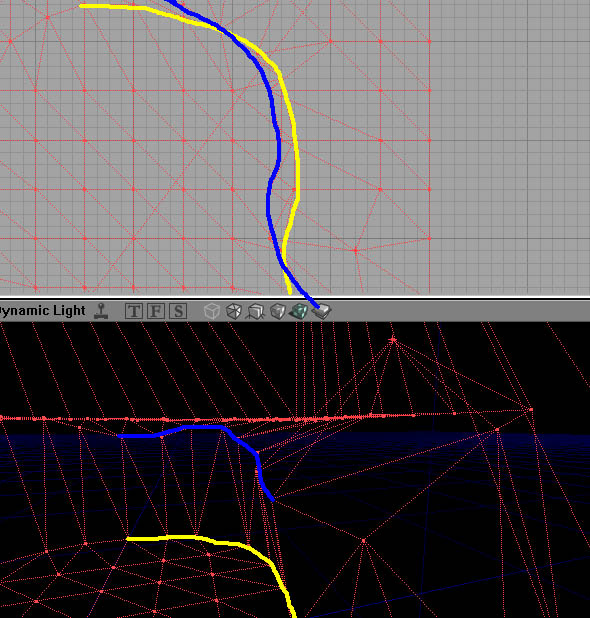
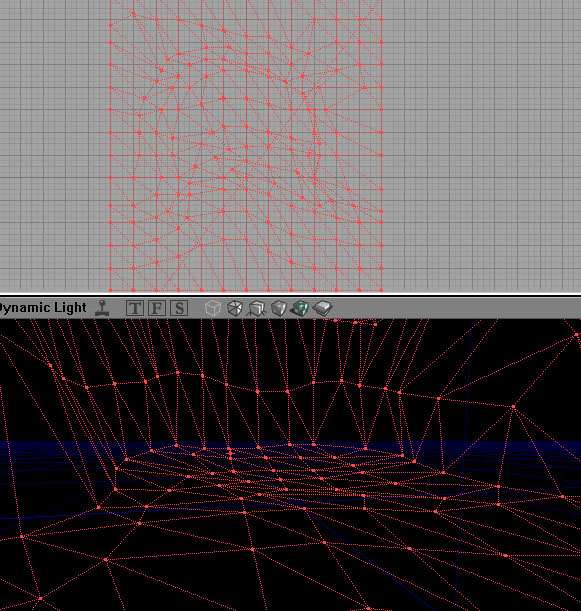
Now we can create an overhang in the cliff. It is VITALLY IMPORTANT that you don't do this step until you've moved the cliff vertecies up a bit, otherwise when you move them so that they overlap the lower vertecies the editor will crash! Once you have some height difference then you are safe to do what you want. Here you can see the yellow line represents the base of the cliff and the blue line represents the top (well, it's actually about half way up because I'm gonna move the vertecies behind that line in a bit) Notice how the blue and yellow lines overlap in the top view. If you had tried this before moving any vertecies vertically then the editor would have just crashed straight away.
I've finished off doing the cliffs now (The overhang is still there on the right). Now I need to do the sand as the beach is still flat.
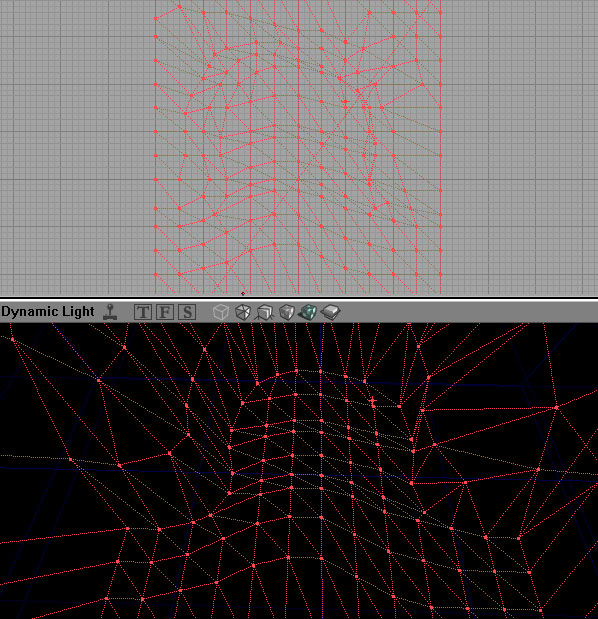
Now, when the sea washes up against the sand, it pushes the sand in the middle of the cove further back than at the edges so I've made some sort of contour lines in the top view to reflect this (will make it easier to make a smoother beach). Notice it's important to think logically when making a terrain. You've gotta think if everything makes sense. It wouldn't really make sense to have a stream running along the top of a cliff, if would be running along at the bottom (sounds like a stupid mistake to make but people still do things like this). Anyways, I got distracted, back to the beach!
Now I'm just going to do a LOT more vertex editing to finish off the sand. A beach is something that is hard to do because it is vital that the sand is as smooth as possible. If it's not perfectly smooth then it will completly ruin the effect. As you can probably tell I spent ages trying to get it just right. It looks like a complete mess but when you explore it in the 3D view it looks quite smooth. Btw, I definatly needed grid size 32 here, although I used 64 for all the other steps. (Even after that complete mess of a terrain I still got no bsp errors by the end which I am quite impressed by!)
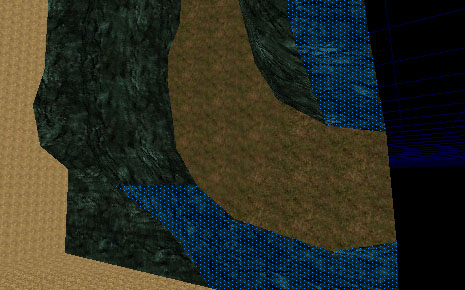
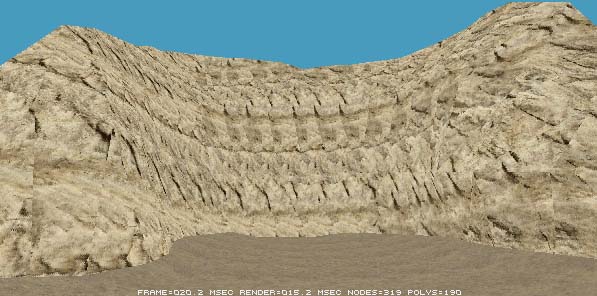
The shape of the terrain is done so all that needs to be done is texturing (and lighting of course). The texture in the next screenshot is not the actual one I am using. I am only showing this pic to demonstrate how sometimes the Align to wall buttons are completly useless and how with certain textures you HAVE to use the rotate->Align to floor trick!
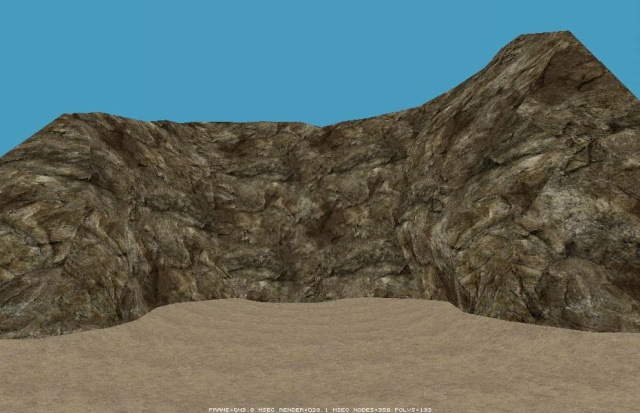
After stealing a rock texture from UT2003 (The UT ones suck too much) and aligning it properly. It's quite high poly, but even with so much bsp horribleness the node count is still pretty low. And ingame you wouldn't be able to walk out to sea anyways so polys wouldn't really go over 130 for the terrain (that leave about 120 polys to spare for buildings and other deco)
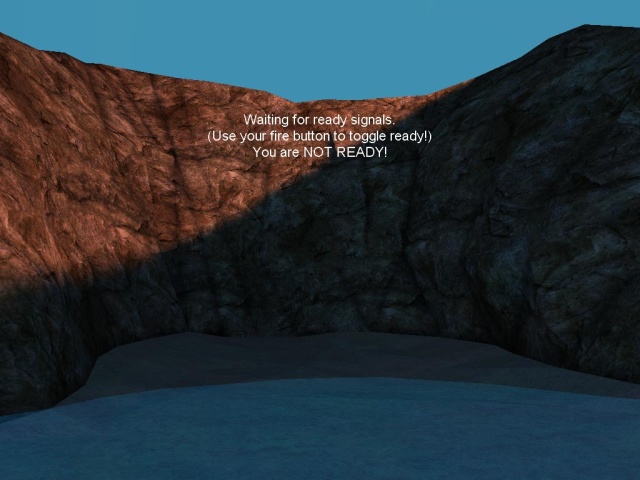
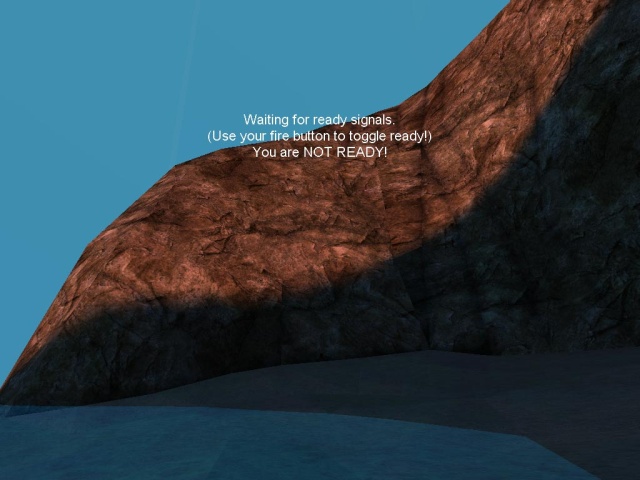
Now, because of the way the beach is shaped, when I add the sheet for the sea it should look nice the way it indents in the middle of the cove (ingame shot with lighting)
Another pic. I didn't bother doing a skybox, so good luck trying to get a decent Sea<->Skybox transition (if that is at all possible O_o)
All done! Oh, you might want to download the example map to check it out for yourself... Usual stuff applies, please do not use this level as a base for other levels etc etc. I had a vague idea on how to get the skybox to merge with the sea, though I couldn't be bothered to build an actual skybox! If anyone manages something like that then let me know!
